#Obsessed

I am OBSESSED with this pink skirt!! It is so perfect and so preppy. I NEED IT!!!

DSQUARED2 All Simpy Miniskirt


Here’s a link to purchase the skirt: ShopBop – All Simple Miniskirt

It’s on the more expensive side when it comes to skirts, but it is so cute I feel like it is worth the splurge!

What do you think?! Is this not the most fab thing ever?!

xoxo ❤

Image courtesy of http://www.pinterest.com


Advertisement

Easy Dinner Idea: Stir Fry!

So the other night my boyfran and I had our usual conversation… “What should we have for dinner?””Ugh, I don’t know” “What do you want??” “I don’t care…what do you want??” It is the most annoying circular conversation ever, and we have it almost every night. So finally we decided to just use what we had in the apartment and throw something together. It ended up that we had all the right ingredients for a stir fry!

Ingredients:

chicken tenderloins – a frozen bag of peas and carrots (I only used half a bag) – rice – 2 or 3 eggs – soy sauce – stir fry sauce (not completely needed but if you have it lying around, it really enhances the dish!)

Directions:

First, I sautéed the chicken tenderloins in some olive oil and salt and pepper. Once the chicken is cooked, take it out of the pan, cut it into chunks, and throw it back in the pan. Next, add the bag of frozen peas and carrots. I actually only had half a bag left, because we had used some for another dinner. Remember…this is about using what you’ve got. So only half a bag of frozen veggies? No problem! Just go with it, and adjust the amounts accordingly. So after these steps, it should look like the following pic:

IMG_2052


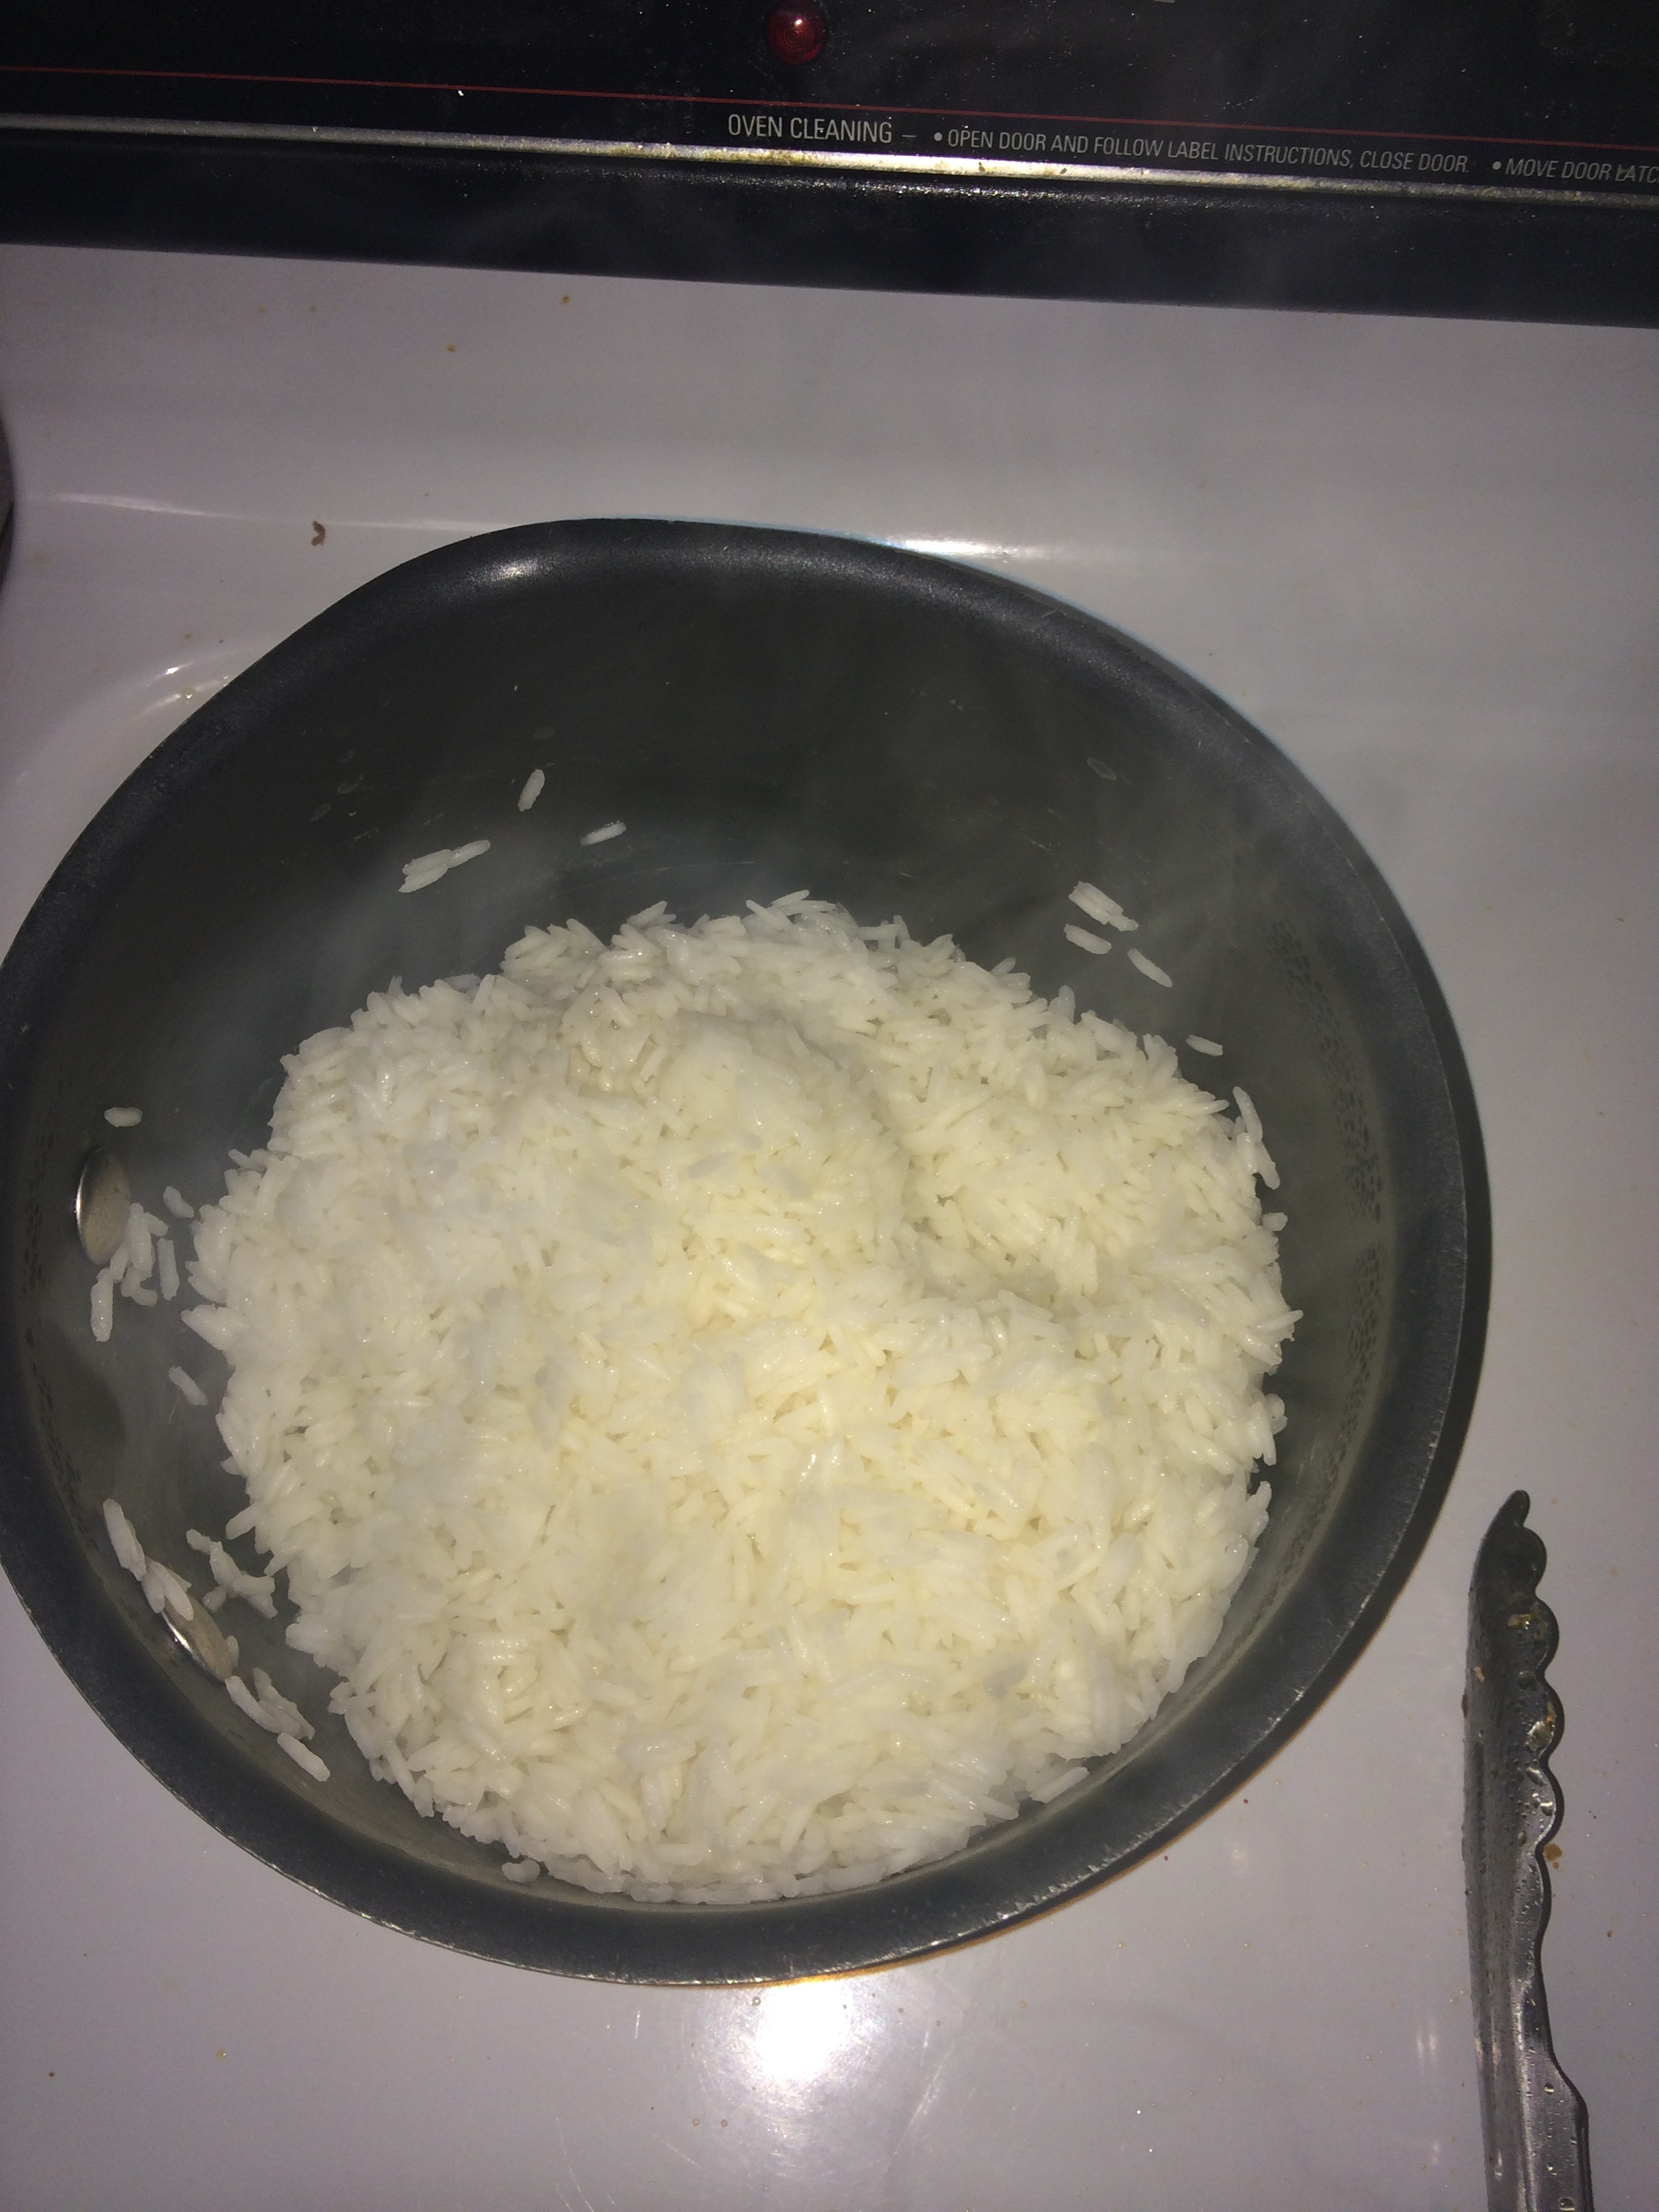
As you are cooking the chicken, start your rice. I only had jasmine rice on hand (from cooking sushi!) so that’s what I used. But obviously, any rice will work. Whatever you’ve got!

IMG_2053

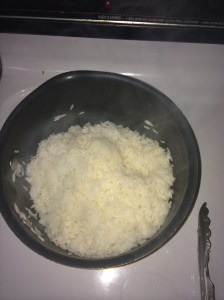
Once the rice is ready, and your chicken/veggie mix is ready…it’s time to make some scrambled eggs! We only had 2 eggs left, but you can use up to four. You can add a little bit of milk if you want, your call.


IMG_2055 IMG_2056

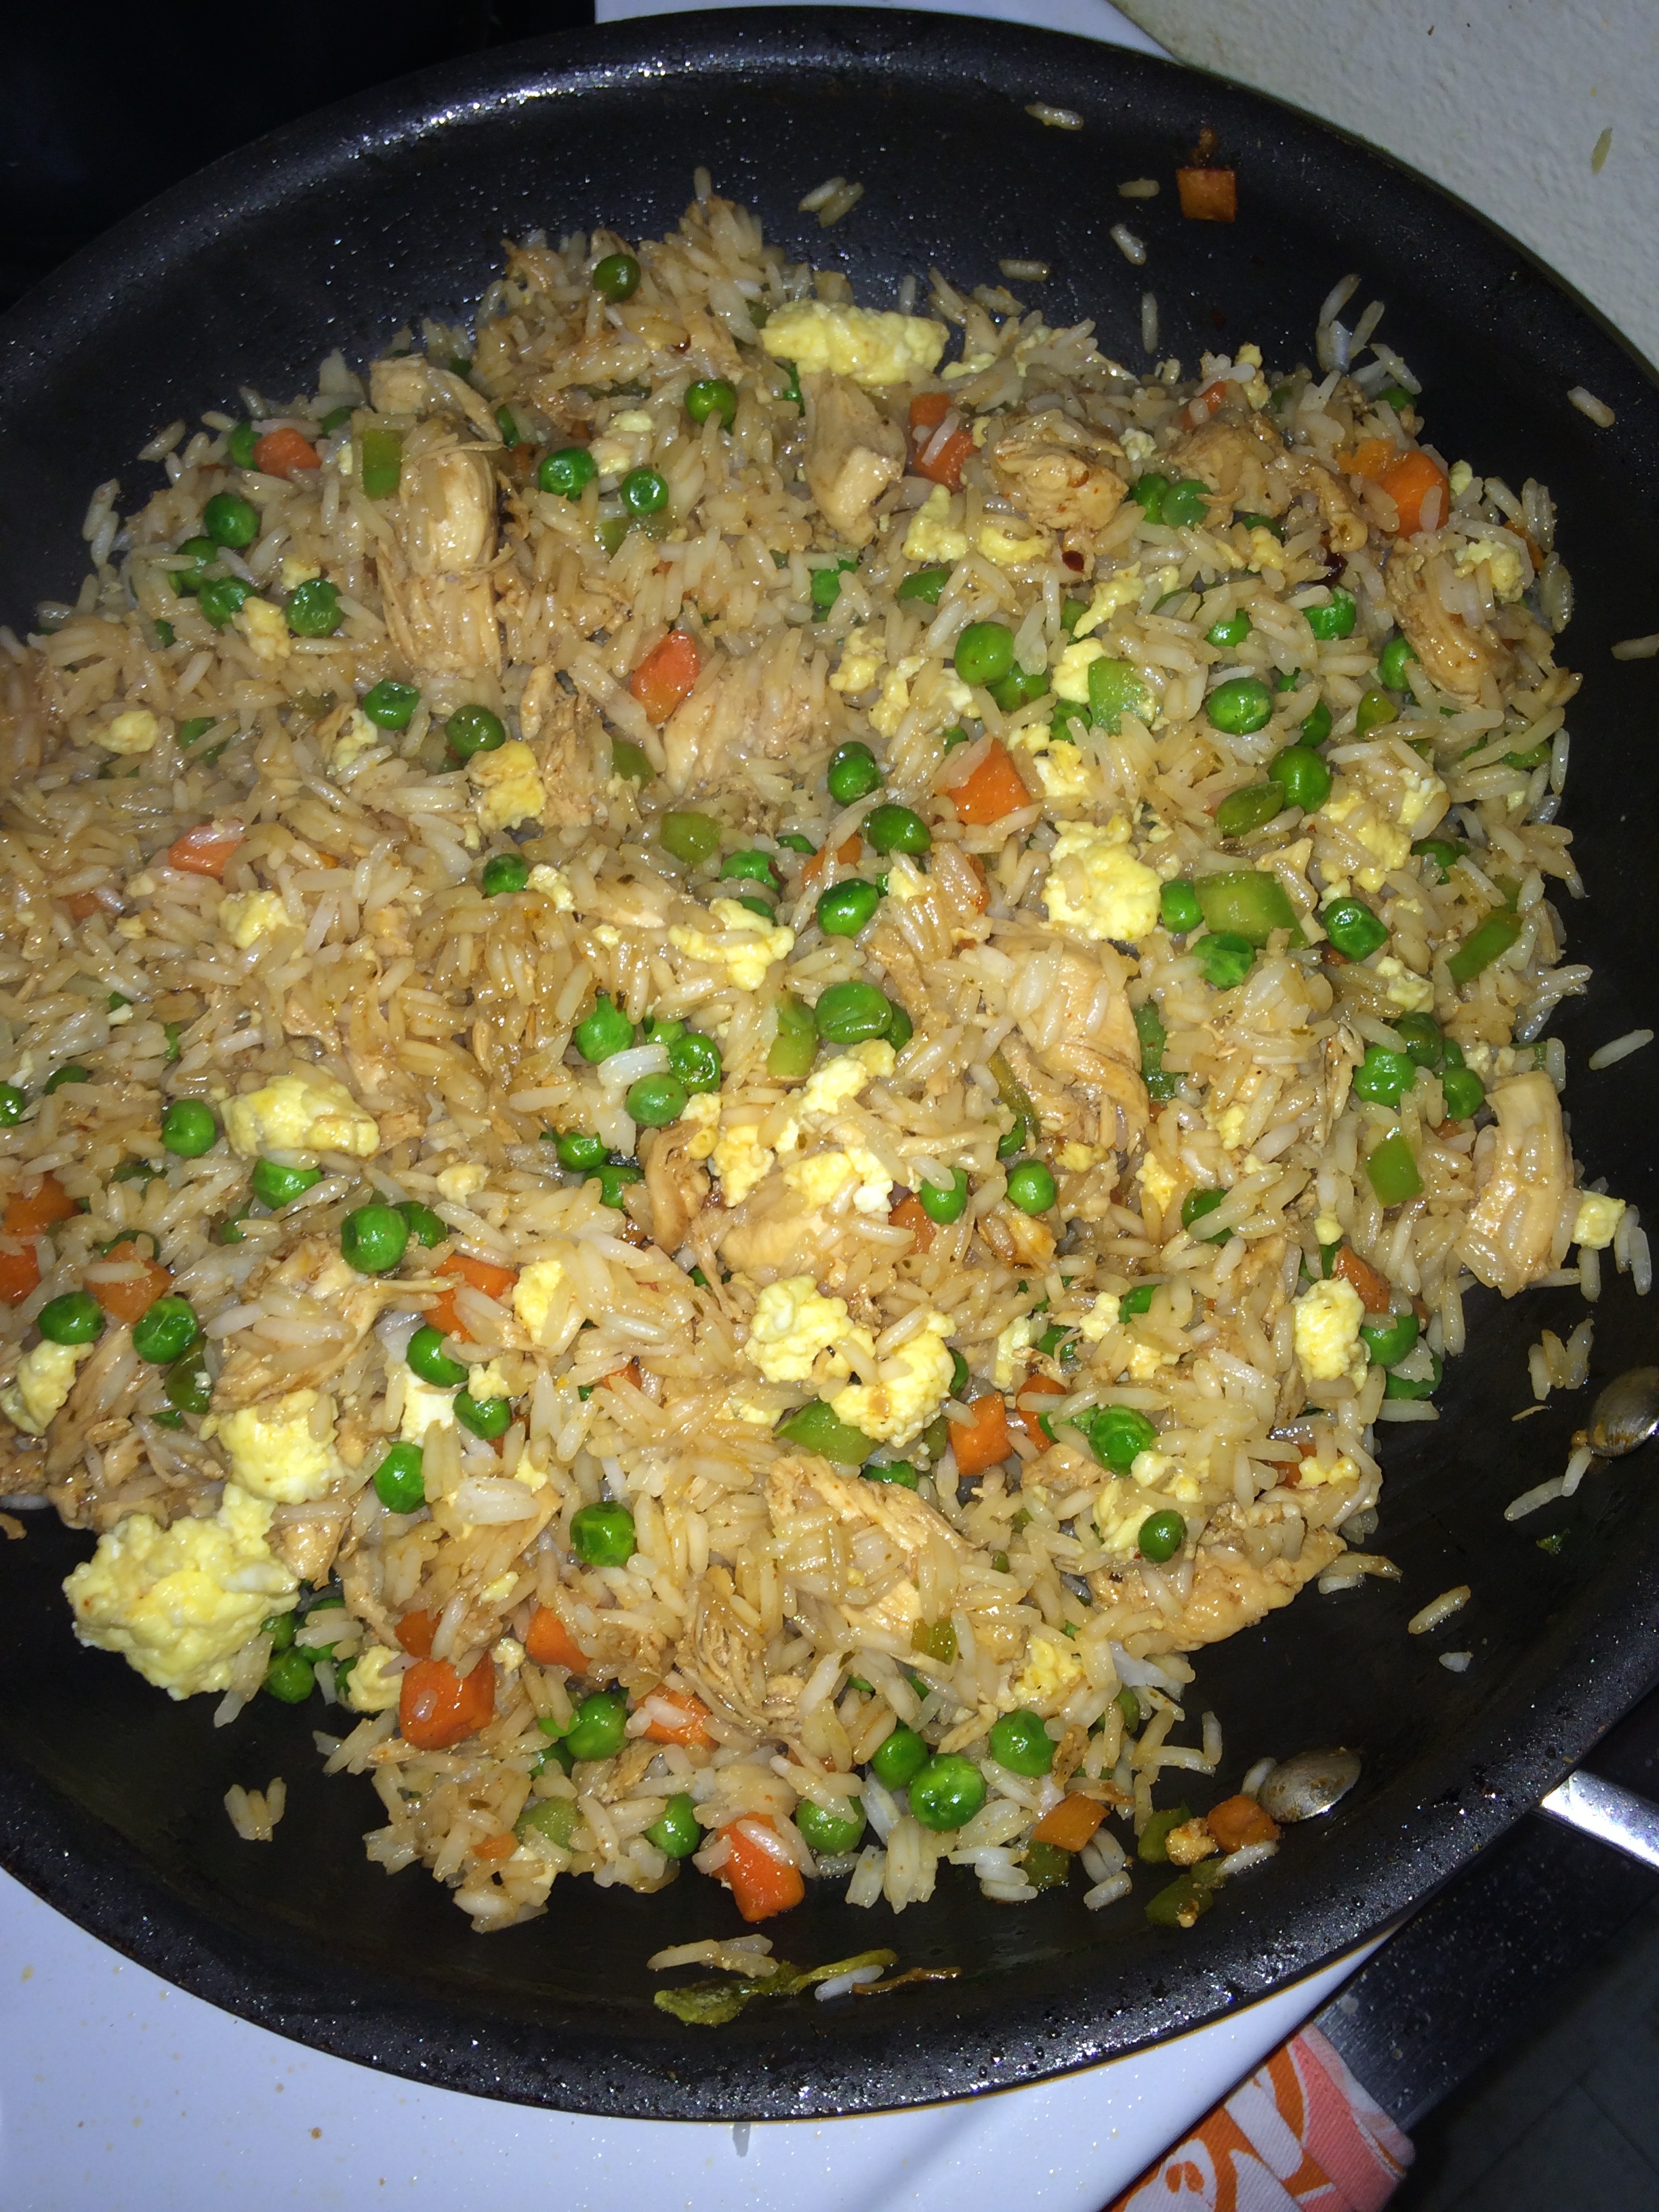
Now it’s time to finish the dish! Add your rice and your scrambled eggs right into your chicken and veggies pan. Stir it all together, and add your sauces!

IMG_2058 IMG_2059


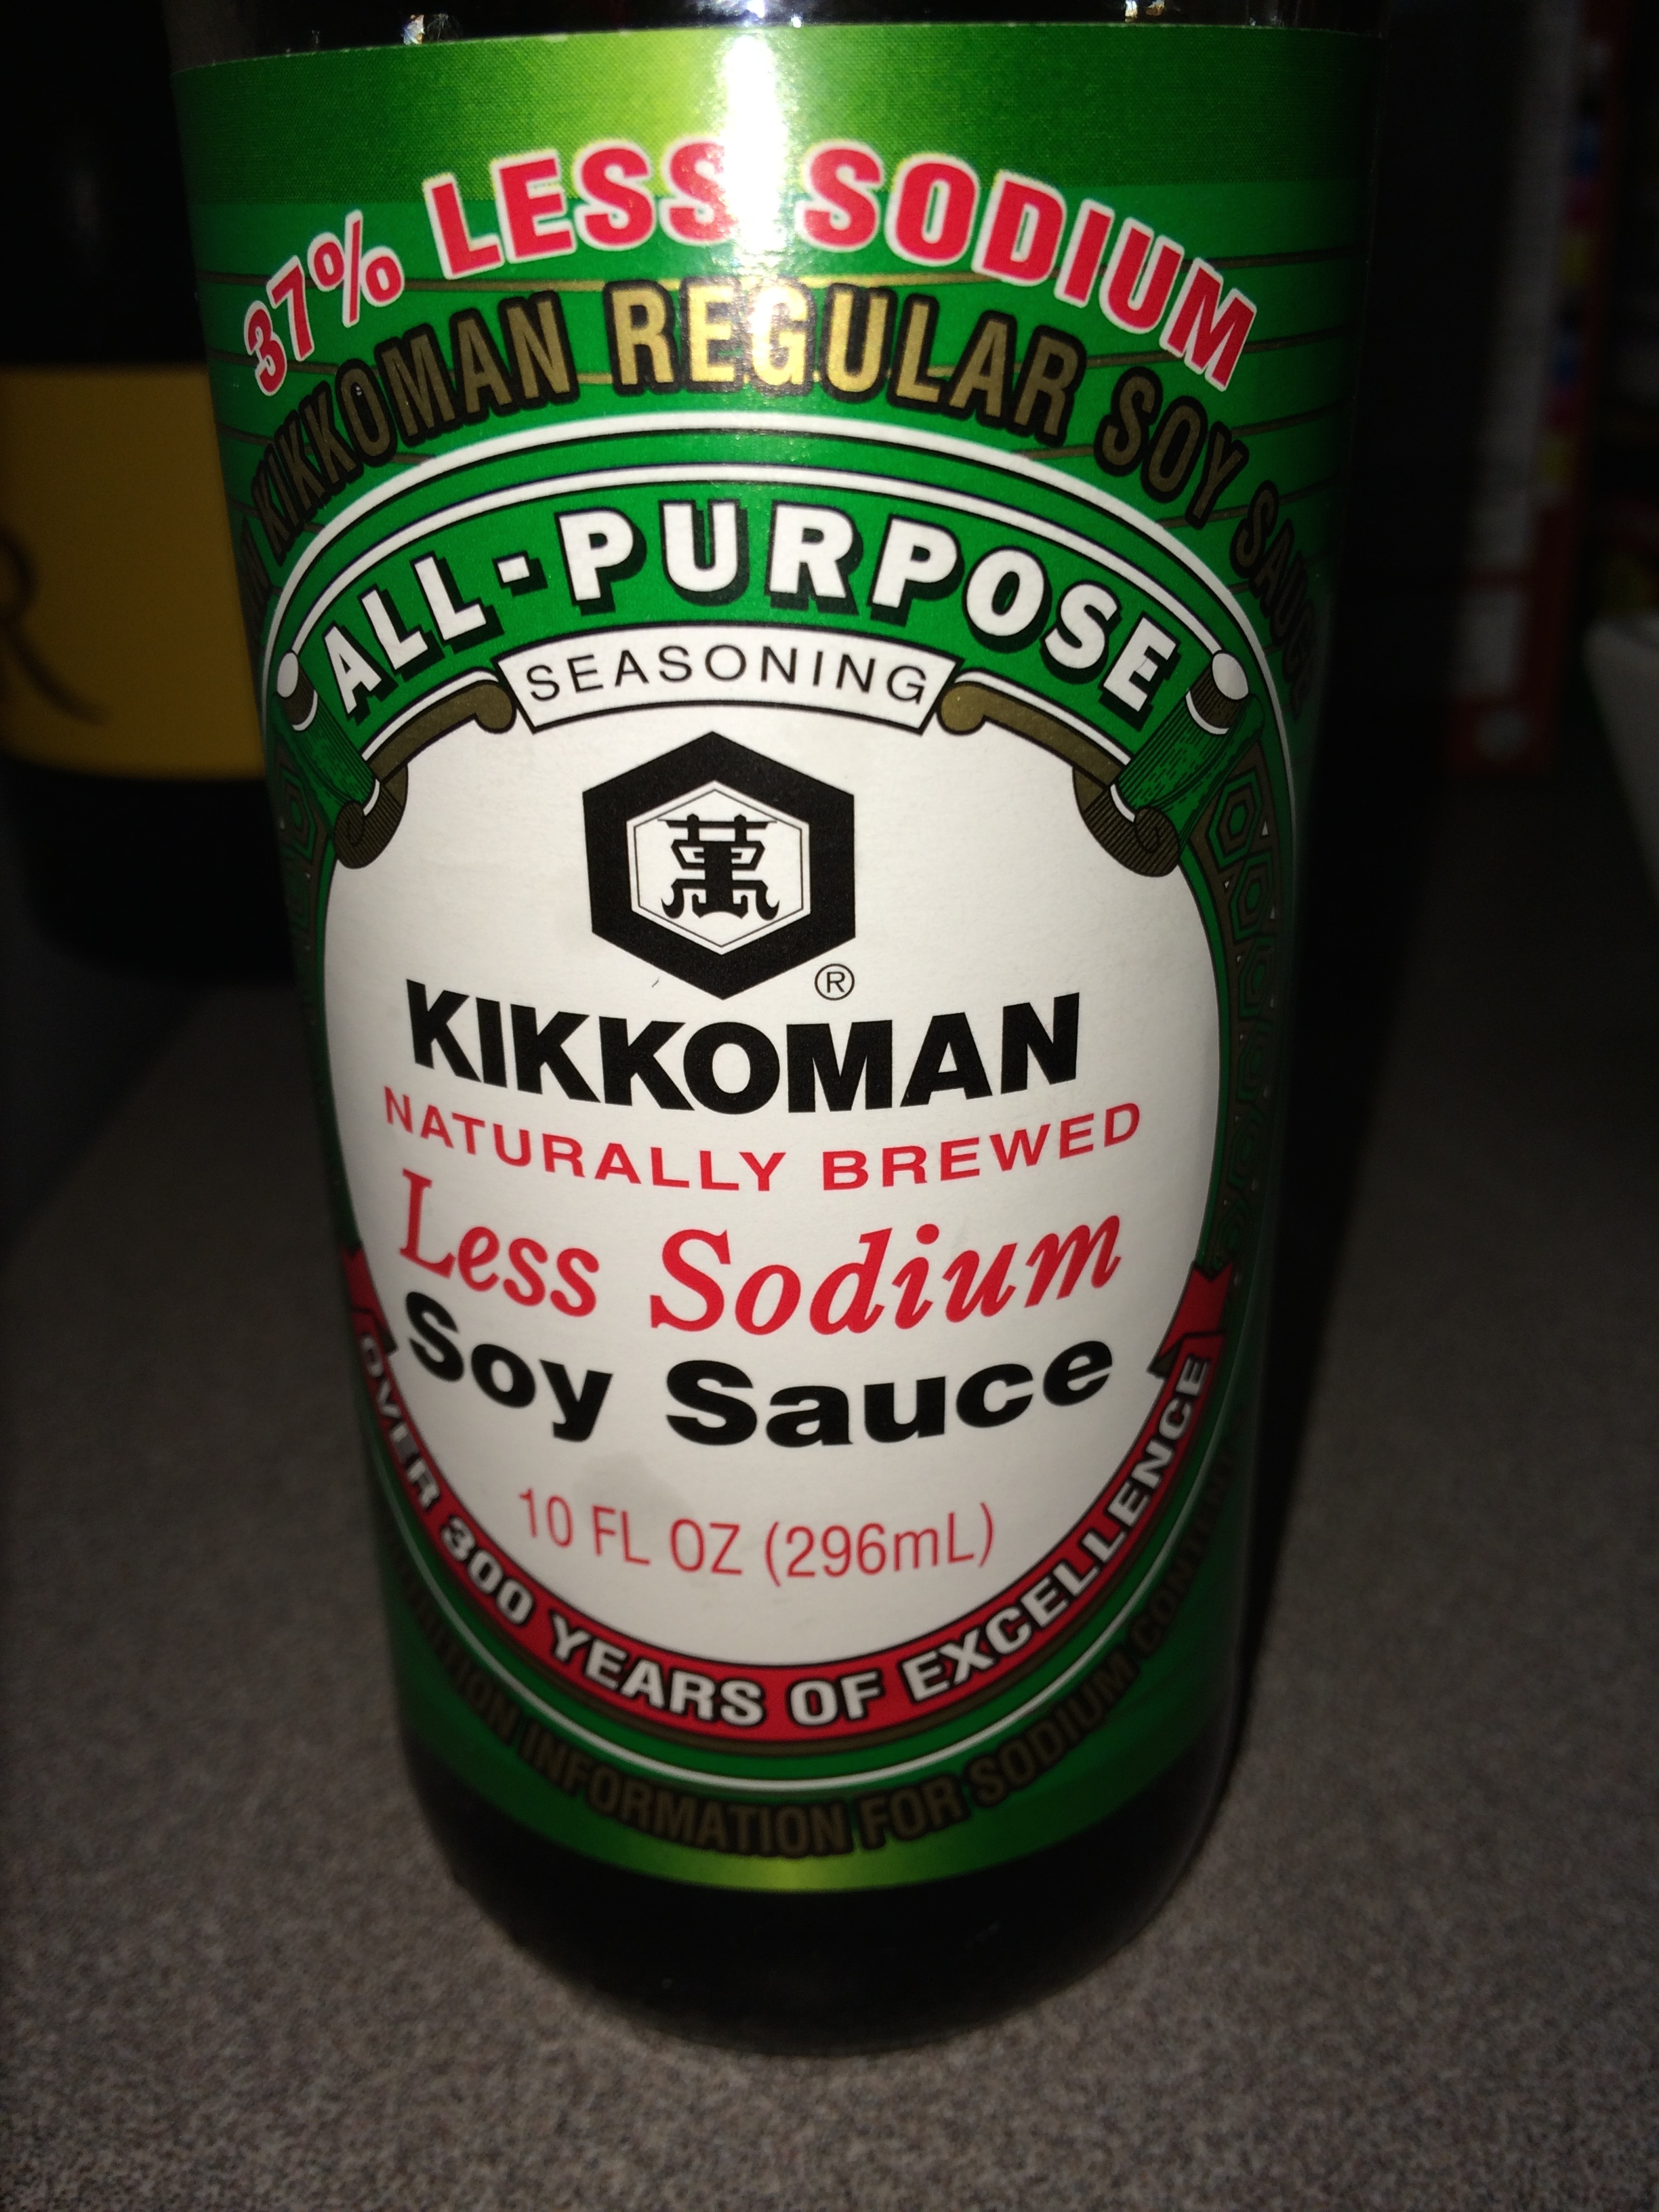
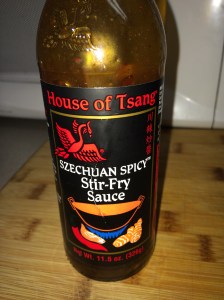
I used less sodium soy sauce, and a spicy stir fry sauce. This just gives it an added kick! (Note: I actually put too much spicy sauce in, and almost couldn’t eat it! So I guess less is more on the spicy sauce haha) It’s amazing what you can find in your refrigerator. I didn’t even know we had stir fry sauce! IMG_2060IMG_2054


And here you have it! How easy was that!?

IMG_2061


So what do you think?? Easy? Hard? Yummy? Boring?? Let me know! xoxo ❤

DIY Flower Arrangements

I’ve been scouting out fake flowers for a while. I have some brightly colored fake flowers from Ikea that sound cheesy but are actually super cute for a pop of color in the family room. But I’ve always pictured nice white bouquets in a few vases I have laying around. I wish I could buy fresh flowers every week like some people, but that can be super expensive. And the flowers at our local grocery store are usually dead by the time they get up here, so it’s really not worth it. The issue with fake flowers is that they can look super fake and lame (duh) if they aren’t good quality. Enter Pottery Barn. I became obsessed with Pottery Barn fakies about 4 months ago, and finally hit up a store to see if they really looked as good in person as they did online. They did. They were magical. I HAD to have them. So I bought 3 fakiez from Pottery Barn, and then 5 fakiez from Michaels (way cheaper). Mixing high and low costs leads to perfect arrangements. 🙂

Can you tell which is $12.50 and which is $4.99??

IMG_2005 IMG_2006


Making fake flower arrangements is very simple. Grab your vases, and let’s get going!

IMG_2004

( It was a dreary day today, I needed a fun activity.)

For me, the fakiez I got were too long (see below pic), so I needed to cut them. Trimming fake flowers is a little obnoxious because the insides of them are wire and cardboard and plastic and all these weird things. You definitely have to cut, pry and work at it, but they will eventually break off. It just might take a little bit of strength and will power. 🙂

IMG_2007 IMG_2008


And that’s all you have to do! Here is my finished product! Now, they are not completely finished because I need to buy more clear marbles or something to put in the bottoms of them – but you get the idea! Super fab right?! And they will look perfect every single day!

IMG_2009


To purchase these fake flowers – check out http://www.potterybarn.com or http://www.michaels.com. I just bought these flowers within this week, and both stores were having sales – so the time to buy is now!

The bouquet on the left is all Michaels flowers – $4.99 each, I bought 5 of them. They were on sale for $2.99 each that day – so total cost was $15. The bouquet on the right is all Pottery Barn flowers (gorg!) – $12.50 each, I bought 3 of them. They were on sale for $10 – so total cost was $30. I had a coupon as well, so my total cost ended up in the $20s ..I think it was about $24.

Some people might think spending $10 a pop on a fake flower is insane, but I just think the quality is SO legit that it’s worth it. And realistically if you average out the cost of fake flowers over the year or two that you will have them – it equals close to nothing.

So those are my new flower arrangements! What do you think?!

xoxo


#Obsessed

Lately, I’ve been super obsessed with gold rings. I’ve been seeing this “midi ring” trend, but had not gotten to a store to try it out for myself. Well, I finally ended up on a shopping spree this past weekend – and found the best midi rings! I decided  I HAD to buy some. After all, I had been admiring them on Instagram for a while. So here it is…my new favorite trend! #midirings ..What do you think??

IMG_1935

So as you can see, I actually wore some of the midi rings as actual rings. The ring on my pinky is a midi ring, but fit my pinky as a real ring as well. The one on my ring finger also fits on the middle and pointer finger, and sits higher on those. The ring on my middle finger is a Kendall&Kylie for Nordstrom ring that my sister gave me last year. It has a chain that connects the bottom to the top. It’s pretty cool in a hipster way. Basically, midi rings are the perfect solution if you want to wear a lot of rings because the sizing can fit on any finger, it just depends what look you want!

The three midi rings in the picture were all purchased at Nordstrom – they range from $6 to $8, and were sitting in decorative bowls on the checkout stations.

What do you think about this ring trend?? xoxo

Entryway DIY Makeover

As you all know, I live with my boyfriend in a not-so-great apartment. I have been trying slowly but surely to fix up everything so that we are living in a clean, nice, happy space!

We have a window right by the door everyone comes in, and the small space became our shoe spot. It might have been okay if it was a mud room, but it’s not. And of course, it seemed like an okay idea in the begining, but turned into a jumbled mess. Because really…who wants to straighten up the shoes every day.

IMG_1965


So I decided to switch it up. I found a storage bench at Target that was too cute. And then found some summery pillows (at Target as well), which seemed to the complete the look. I also bought little decorative bowls from Target to put the dancing flowers in. Okay – as I just typed this out, I realized that the entire makeover was furnished by Target haha. Oh well – I LOVE TARGET!! What can I say!!

Here is the finished look – what do you think?! My goal is to also paint the potted plant (I hate that plant, but my boyfriend loves it). I think I will paint it in bright colors to really pop.

IMG_1966


This whole little nook was only $125. The storage bench is on sale for $79.99 this week at Target, the pillows are on sale for $20, and the little bowls were like $5. And this is why I love Target.

Cinco De Mayo Fiesta! Part 4


Okay, last mexican fiesta post! A fiesta is not a fiesta without FAJITAS!!!! Some people are scared of making fajitas, but they really are quite simple. You can do it! I promise!

Ingredients:

1 white onion – 1 fajita skillet sauce – olive oil – steak – red and yellow peppers

First, cut the onion. You want pieces that are long and will get slightly smaller when you cook them. The easiest is to cut the onion in slices, then cut those in half.

IMG_1948


Next, cut the peppers in the same long, thin slice fashion.

IMG_1950

Lightly pour some olive oil in a sauté pan. Then add the peppers and onions. Cook these on medium heat. I usually cook them for as long as the meat is cooking. It ends up being roughly about 25 minutes.

IMG_1949   IMG_1952


While the peppers and onions are cooking, you need to cook your meat. I chose steak for these fajitas, but you could use chicken as well. At our local grocery store, they sell steak already cut up in thin slices for stir fry,  but it also doubles as fajita meat! If your store does not have meat already cut up, you can just buy your favorite cut of meat and thinly slice it. You can cook the meat in a sauté pan, or a bigger pot like I did. (I only did this because my other pans were dirty, and I didn’t feel like doing more dishes haha) Cook the meat over medium heat.

IMG_1951


Once the meat is fully cooked (it usually takes about 15-20 minutes), then it is time to add the secret ingredient…….. FAJITA SAUCE!! I LOVE LOVE this sauce. It’s by Rick Bayless, and since I am a cooking show geek, I get excited every time I eat a well-known chefs food. 🙂 So you add the sauce to your meat and let it simmer for about 5 minutes. Then your fajitas are ready to be prepared!

IMG_1947IMG_1956

Here is the finished product, it was SOO GOOD! My Cinco De Mayo fiesta was a success!! Maybe I filled my tortilla with too much ingredients so that I couldn’t roll it into a burrito….but oh well! It was delicious! *Shown with a Strawberry-Limearita. yum yum 🙂

IMG_1964


So that was my Cinco De Mayo…what do you think?! Will you try to make some of these recipes for your hubbs?

xoxo


Cinco De Mayo Fiesta!! Part 3


So after I made the two salsas, I figured I should make some guacamole. Because really…what mexican fiesta is complete without guac.

Ingredients:

2 1/2 avacados – pico de gallo – salt and pepper – tortilla chips

Since I had just made the pico de gallo, the guacamole was super simple to put together. All you have to do is mash up the avocados, add some pico de gallo and salt and pepper, and mix. And there you have it.

IMG_1953  IMG_1955 IMG_1957


Talk about simple, this was for sure the quickest part of the meal I made.

Tip:

I had half an avocado that I had saved from the other night with this funny goop I found at Sur La Table. It’s just the rubbery-flubber like thing that you put over your avocados and it keeps them fresh for a few days! It’s GENIUS!! I suggest everyone go get one, if you eat avocados as much as I do. I think it was about $5, a steal!

IMG_1954

Cindo De Mayo Fiesta!! Part Two

After I made fresh pico de gallo, I thought “Why stop there?!?!”. So I decided to make some fresh corn salsa! I have never made this before, but after my Food Network watching, I just knew I could do it.

Ingredients:

Half of a red onion – 2 jalapeños – handful of fresh cilantro – 2 bags of frozen sweet corn (I used the steamer version, you just microwave each bag for 4 mins 30 secs, super simple!) – chips(duh)

First, dice the red onion. Add to bowl.

IMG_1940 IMG_1941

Next, dice the 2 jalapeños. I left almost all the seeds in this one, because I knew the sweet corn would counteract it so it still wouldn’t be too spicy.

IMG_1942

Next, add the sweet corn. Finely chop/tear the fresh cilantro and add to bowl. Add a pinch of salt and pepper. Mix. And BOOM. Corn Salsa complete!!

IMG_1943


It’s beyond tasty, and trust me, your boyfriend will love you for it. Unless it’s my boyfriend, who doesn’t like corn. I found this out yesterday, after I slaved in the kitchen for a hour making all these salsas. But he LOVED the pico de gallo, so I decided it was okay. haha

Let me know what you think! What do you like better….corn salsa or pico de gallo??

xoxo

Cinco De Mayo Fiesta!

Hi Everyone! I’m back!! I was in a festive mood yesterday, and went crazy cooking a big mexican fiesta! Usually when mexican food is involved, my boyfriend is the one who does the cooking. He has learned how to cook authentic mexican from some of his friends parents, and he does it VERY well. But as luck would have it, my boyfran was snowboarding at A-Basin yesterday, so it was up to me. Luckily for me, the Food Network was running a lot of Cinco De Mayo episodes, so I got seriously inspired while doing laundry/watching tv. And keep in mind, if I can do it.. YOU can do it!!

First up – fresh pico de gallo!

Ingredients:

4 tomatos – 1 sweet onion – 1 jalepeno – a handful of fresh cilantro – salt – pepper (and chips, obvi!)


Really all you have to do is dice all your veggies. This seems easy, but does take some time. So first, dice your tomatoes. I actually cut them open, then scrape out all the seeds and extra juices before I put them in my mixing bowl. I personally don’t like tomatoes that much, so I try to avoid any unneeded slimy parts. It’s your call 🙂

IMG_1936 IMG_1937

Next, dice your onions. I did pretty big chunks of all my veggies, because I didn’t want to chop my fingers off trying to get the smallest dices possible. Add them to your bowl of tomatoes. If you like a little heat, add a diced jalepeno. I take out the seeds, so it’s not too spicy. Just perfect. Roughly chop/tear the cilantro and add to the bowl. Add a little bit of salt and pepper (up to you how much you want). And voila! You’ve made pico de gallo!

IMG_1938

I mean how pretty does the final product look?! And it’s SO GOOD!! I love how fresh it tastes.

IMG_1939


So what do you think?! Is this not the easiest, most stastifying thing ever?!